Jumping into embroidery digitizing is like unlocking a new level of creativity. It’s the process of turning artwork, like a logo or sketch, into a digital file that an embroidery machine can stitch onto fabric. If you’re a beginner, the idea of digitizing might feel overwhelming, but it’s totally doable with the right tips. This casual, SEO-friendly guide shares essential advice to help you start digitizing for embroidery like a pro. From picking the right designs to mastering software, we’ve got you covered. Let’s dive in and stitch your way to success.
What Is Embroidery Digitizing?
Embroidery digitizing transforms a digital image—think JPEG, PNG, or vector files—into a file format like PES or DST that tells an embroidery machine where to place stitches, what colors to use, and how to create the design. It’s the bridge between your artwork and the final embroidered product, whether it’s a logo on a hat or a design on a shirt. For beginners, understanding this process is key to creating clean, professional results without frustration.
Start with Simple Designs
As a beginner, resist the urge to digitize complex artwork right away. Intricate designs with tiny details or lots of colors can turn into a mess when stitched. Instead, go for bold, simple designs with clear shapes and a limited color palette—three to five colors max. A logo with block letters or a basic graphic, like a heart or star, is perfect for learning. High-resolution images, at least 300 DPI, or vector files like SVG work best, as they provide sharp lines and scalability. Simplifying your design sets you up for clean stitches and fewer headaches.
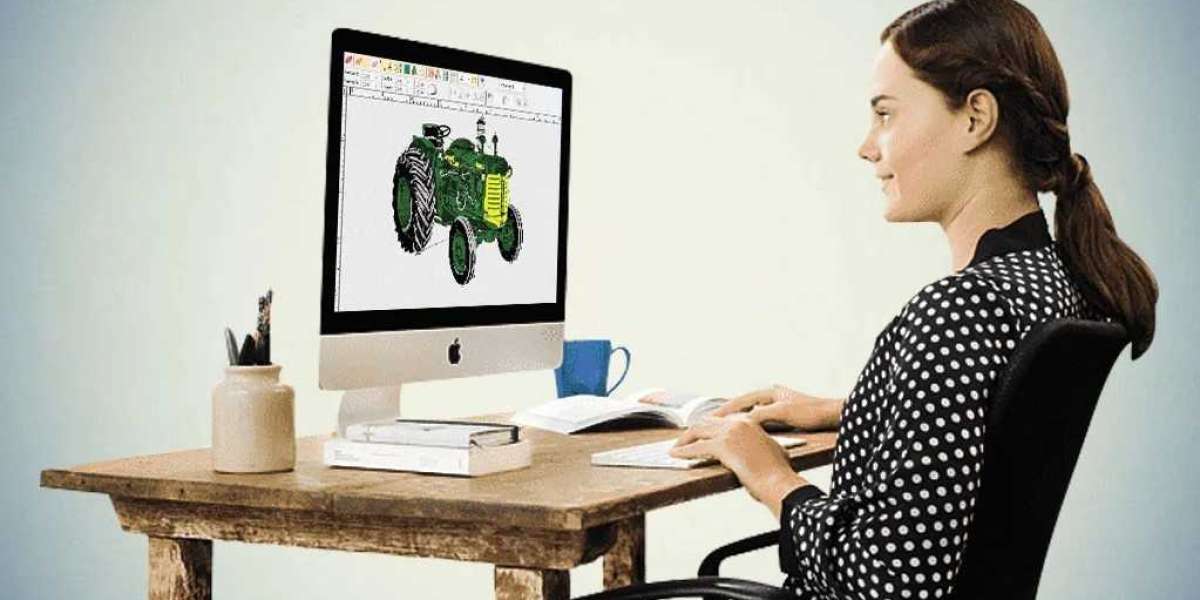
Choose the Right Software
Your digitizing journey starts with good software. Programs like Hatch Embroidery or Brother PE-Design are beginner-friendly and affordable, offering tools to trace designs and adjust stitches. For a free option, try Ink/Stitch, though it requires more manual effort. If you’re ready to invest, Wilcom EmbroideryStudio offers pro-level features. Pick software that matches your skill level and budget, and make sure it supports your machine’s file format, like PES for Brother or DST for Tajima. Most programs have tutorials or templates to help you get started.
Learn Your Stitch Types
Stitches are the building blocks of embroidery, and knowing which ones to use is crucial. Satin stitches create smooth, glossy borders or text, but keep their width between 1 and 4 millimeters to avoid puckering. Fill stitches cover larger areas, like a logo’s background, but use a low density—around 0.4 to 0.5 millimeters—to prevent fabric distortion. Running stitches outline details but can break if overused. Your software often suggests stitch types, but experiment to see what looks best. Understanding stitches helps you create designs that look polished and professional.
Master the Art of Underlay
Underlay stitches are like the foundation of a house—they stabilize the fabric before the main stitches go down. For beginners, skipping underlay is a common mistake that leads to wobbly or puckered designs. Use zigzag underlay for stretchy fabrics like knits and edge-walk underlay for thicker materials like denim. Adjust underlay settings in your software to match your fabric, ensuring the design stays secure during stitching. This small step makes a big difference in the final look.
Adjust for Fabric Type
Not all fabrics are created equal, and your digitizing settings need to reflect that. Stretchy materials, like jerseys, need more underlay and slightly higher pull compensation—around 0.2 to 0.3 millimeters—to account for stretching. Thicker fabrics, like canvas or hats, require lower stitch density to avoid puckering. If you’re working on hats, center the design to dodge seams. Always check your software’s fabric presets or manually tweak settings to match your material. Getting this right ensures your design looks great on any surface.
Test, Test, Test
Never skip the test stitch-out—it’s your safety net. After digitizing, save your file and stitch it on scrap fabric similar to your final project. Check for issues like gaps, puckering, or thread breaks. If the design looks off, tweak stitch density, pull compensation, or underlay in your software and try again. Testing saves you from wasting time and materials on a flawed design. Plus, it builds your confidence as you see what works and what doesn’t.
Use Stabilizers Wisely
Stabilizers are your secret weapon for clean embroidery. They keep fabric steady during stitching, preventing distortion. For sturdy fabrics, like twill or denim, use a cut-away stabilizer that stays in place for long-term support. For lighter materials, like T-shirts, a tear-away stabilizer is easier to remove. For tricky projects like hats, use a cap-specific stabilizer to handle the curve. Hoop the stabilizer with your fabric tightly to avoid shifting, and you’ll get crisp, professional results every time.
Keep Learning and Experimenting
Digitizing is a skill that improves with practice. Watch tutorials, join online embroidery communities, or experiment with your software’s features to learn new tricks. Try adding effects like 3D puff embroidery for bold designs, but start small to avoid overwhelm. The more you play with stitch types, densities, and sequencing, the better you’ll get at creating designs that pop. Don’t be afraid to make mistakes—they’re part of the learning curve.
Final Thoughts
Digitizing for embroidery is an exciting way to bring your creative ideas to life. Start with simple designs, pick user-friendly software, and focus on mastering stitch types and fabric adjustments. Test every design, use stabilizers, and keep experimenting to build your skills. With these beginner tips, you’re ready to create professional-looking embroidery for branding, gifts, or personal projects. Grab your artwork, fire up your software, and start stitching your way to awesome designs today.


