Why Choose Custom Gutters?
Standard gutters come in set sizes. They don’t always fit your home’s roofline well, and that can lead to leaks or weak spots.
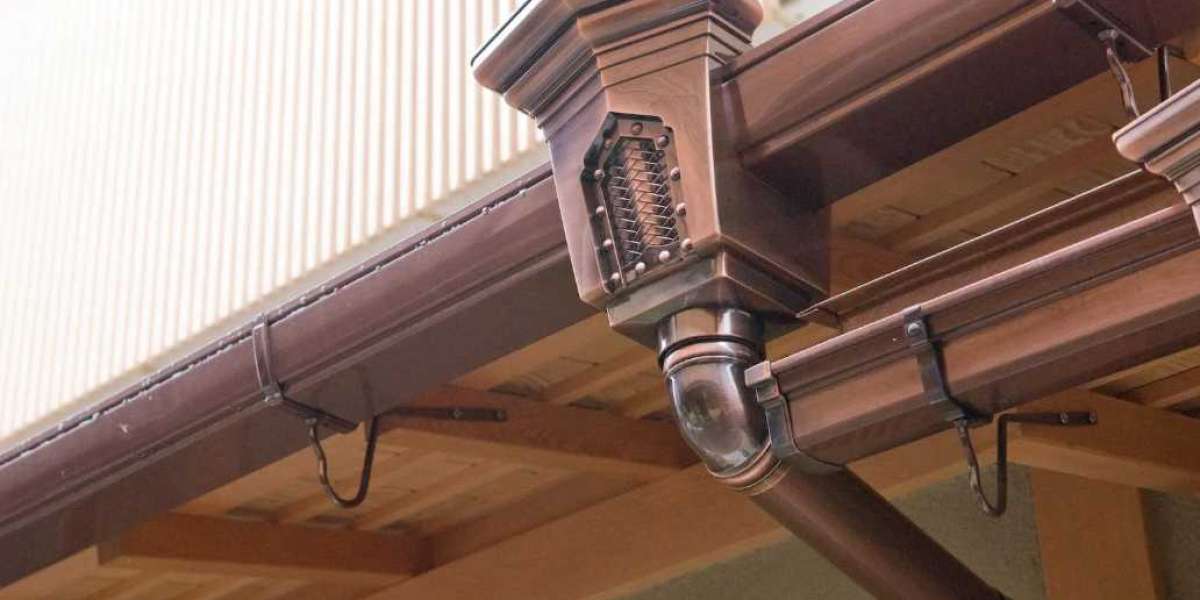
Custom gutters are made to match your house exactly. They are cut and shaped to fit each section, which means fewer seams, better flow, and stronger protection.
Benefits include:
- A precise fit for your home
- Less risk of leaks
- Better curb appeal
- Long-lasting performance
When you choose custom gutters, you’re investing in a system built just for your house.
Tools and Materials You’ll Need
Before you begin, gather the right tools. Installing gutters is easier when you’re prepared.
You’ll need:
- Measuring tape
- Level
- Ladder
- Drill or screwdriver
- Screws or brackets
- Tin snips (for cutting metal)
- Gutter sealant
- Safety gloves
- Sections of custom gutters
Always put safety first. Use a solid ladder and have a friend nearby to help.
Measure and Plan
Start by measuring your roofline. This will tell you the exact length of custom gutters you’ll need. Mark where downspouts should go.
Gutters must slope slightly toward the downspouts. Plan for about a quarter inch drop every 10 feet. This allows water to flow smoothly.
Remove Old Gutters
If you’re replacing old gutters, carefully take them down. Use a drill to unscrew brackets and pull each section away.
Check the fascia board once the old gutters are gone. If the wood is rotten or soft, replace it before attaching new gutters. Strong wood is key to solid installation.
Install Brackets or Hangers
Next, attach brackets or hangers to the fascia. These will hold the new gutters in place.
Space them about every two feet for proper support. Use a level to make sure you keep the slope toward the downspouts.
Strong brackets mean your gutters won’t sag or pull away over time.
Attach the Custom Gutters
Now it’s time to put up the custom gutters. Start at one end and work your way across.
Lift each section onto the brackets and secure it with screws. If you need to join two sections, use a connector and seal the seam with gutter sealant.
Because these are custom gutters, they should fit smoothly without large gaps.
Install Downspouts
Cut openings in the gutter where you want the downspouts to go. Attach the outlet piece, then connect the downspout sections with screws.
Make sure the downspouts guide water away from your foundation. Use extensions or splash blocks if needed.
Properly placed downspouts will protect your basement and yard from flooding.
Seal and Test the System
Once the gutters and downspouts are up, check all seams and corners. Apply sealant anywhere water might leak.
Run a hose into the gutter to test the system. Watch the flow to make sure water runs smoothly toward the downspouts.
This step ensures your custom gutters are working correctly before the next storm.
Common Mistakes to Avoid
Many homeowners make the same errors when installing gutters. Avoid these to save yourself trouble later:
- Not sloping the gutters correctly
- Using too few brackets, which leads to sagging
- Letting downspouts end too close to the foundation
- Forgetting to seal joints and corners
- Working without safety gear
Taking your time with each step will prevent costly repairs later.
Maintenance Tips for Custom Gutters
Even though custom gutters are durable, they still need care. Regular maintenance keeps them working well for years.
Here are some simple tips:
- Clean gutters twice a year, in spring and fall
- Check brackets and screws for looseness
- Rinse with a hose to clear dirt and pollen
- Trim trees to reduce falling leaves
- Reseal joints if you see small leaks
These small steps will keep your system strong and reliable.
When to Call a Professional
Installing gutters is doable as a DIY project for some homeowners. But if your home is tall, your roofline complex, or you’re not comfortable with ladders, it’s best to call a pro.
Professionals can measure, cut, and install custom gutters quickly and safely. They also know how to spot issues you might miss.
Sometimes, paying for expert help saves you both time and money in the long run.
Conclusion
Custom gutters are one of the best investments you can make for your home. They fit perfectly, look great, and provide strong protection against water damage.
By following the steps in this guide—measuring, installing brackets, attaching gutters, and sealing seams—you can set up a reliable system.
If the job feels too big, professional installation is always an option. Either way, your home will benefit from gutters that are made to last.
FAQs
Q: Why are custom gutters better than standard gutters?
A: They are cut to fit your home exactly, which means fewer leaks and better performance.
Q: Can I install custom gutters myself?
A: Yes, if you’re handy and comfortable on a ladder. But for tall homes, calling a pro is safer.
Q: How long do custom gutters last?
A: With good maintenance, they can last 20 years or more.
Q: Do custom gutters cost more?
A: They are more expensive upfront but save money by lasting longer and preventing water damage.
Q: How do I maintain custom gutters?
A: Clean them twice a year, check for leaks, and make sure downspouts are clear.