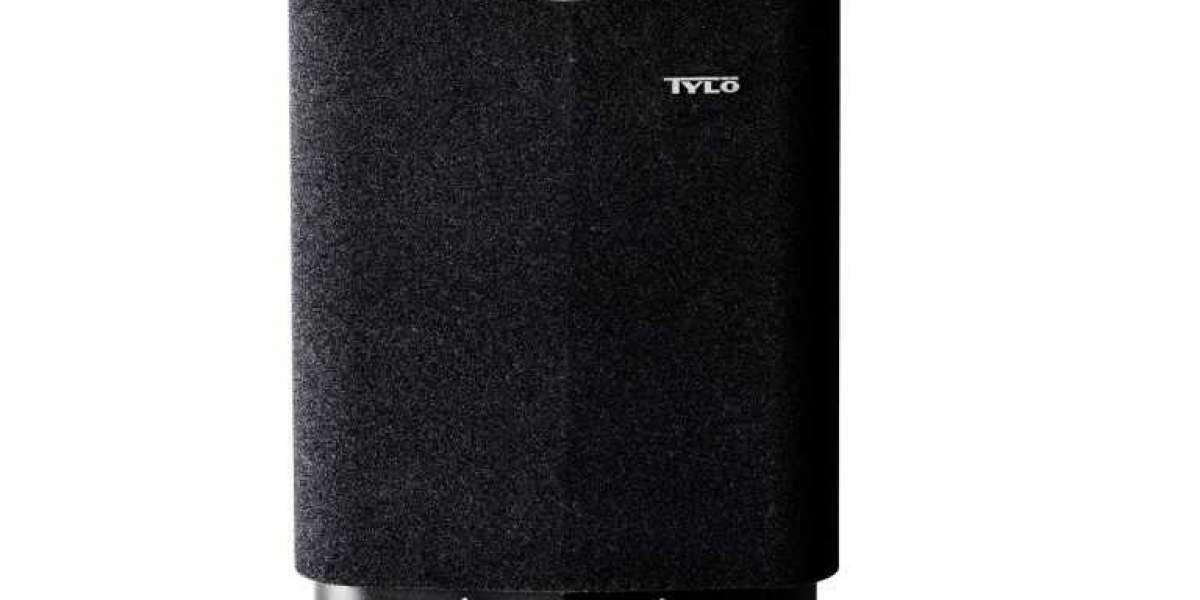
Proper installation of your sauna heater is essential not only for safety but also to maximize its performance and lifespan. The Tylo Sport 8 Sauna Heater offers flexible installation options and user-friendly design, making it a top choice for sauna owners and installers alike.
Preparing Your Sauna for Installation
First, it’s important to ensure that your sauna room is within the recommended size range of 6 to 12 cubic meters for the Tylo Sport 8 to function optimally. An oversized heater in a small space can waste energy, while an undersized heater in a large sauna will struggle to maintain heat.
The physical dimensions of the Tylo Sport 8 are compact (431 x 600 x 375 mm), allowing for versatile installation on the floor or mounted on the wall. This flexibility helps accommodate different sauna room layouts.
Before installation, review the electrical system. The Tylo Sport 8 requires a dedicated circuit capable of handling 8 kW of power. Hiring a licensed electrician is strongly recommended to ensure compliance with local electrical codes and safety standards.
Installation Options: Floor or Wall-Mounted
Depending on your sauna design, you can choose either:
- Floor-mounted installation, which provides easy access and stability.
- Wall-mounted installation, which saves floor space and helps distribute heat more evenly in some sauna layouts.
Regardless of the mounting style, it is critical to maintain proper clearance from walls and the ceiling. Tylo specifies:
- A minimum distance of 110 mm from combustible walls or other objects.
- At least 1900 mm of clearance from the ceiling to avoid overheating.
Failure to maintain these distances could result in inefficient operation or safety hazards.
Electrical Connections and Safety
The heater must be hardwired to the power supply using cables rated for the required load. Avoid the use of extension cords or adapters, which can pose fire risks. The mechanical timer and thermostat controls are integrated at the base, so ensure wiring is connected according to Tylo’s installation manual.
For detailed guidance on safe electrical installation and sauna wiring standards, the Electrical Safety Foundation International provides an excellent resource at Electrical Safety Tips.
Testing the Heater
Once installed, perform a thorough inspection of all electrical connections and physical fittings. Power on the heater and allow it to run through a heating cycle. The heater should warm the sauna evenly without unusual sounds or odors.
If you experience issues such as inconsistent heating or tripped breakers, immediately consult a professional electrician.
For further installation details and downloadable manuals, visit the Tylo Sport 8 Sauna Heater product page.


